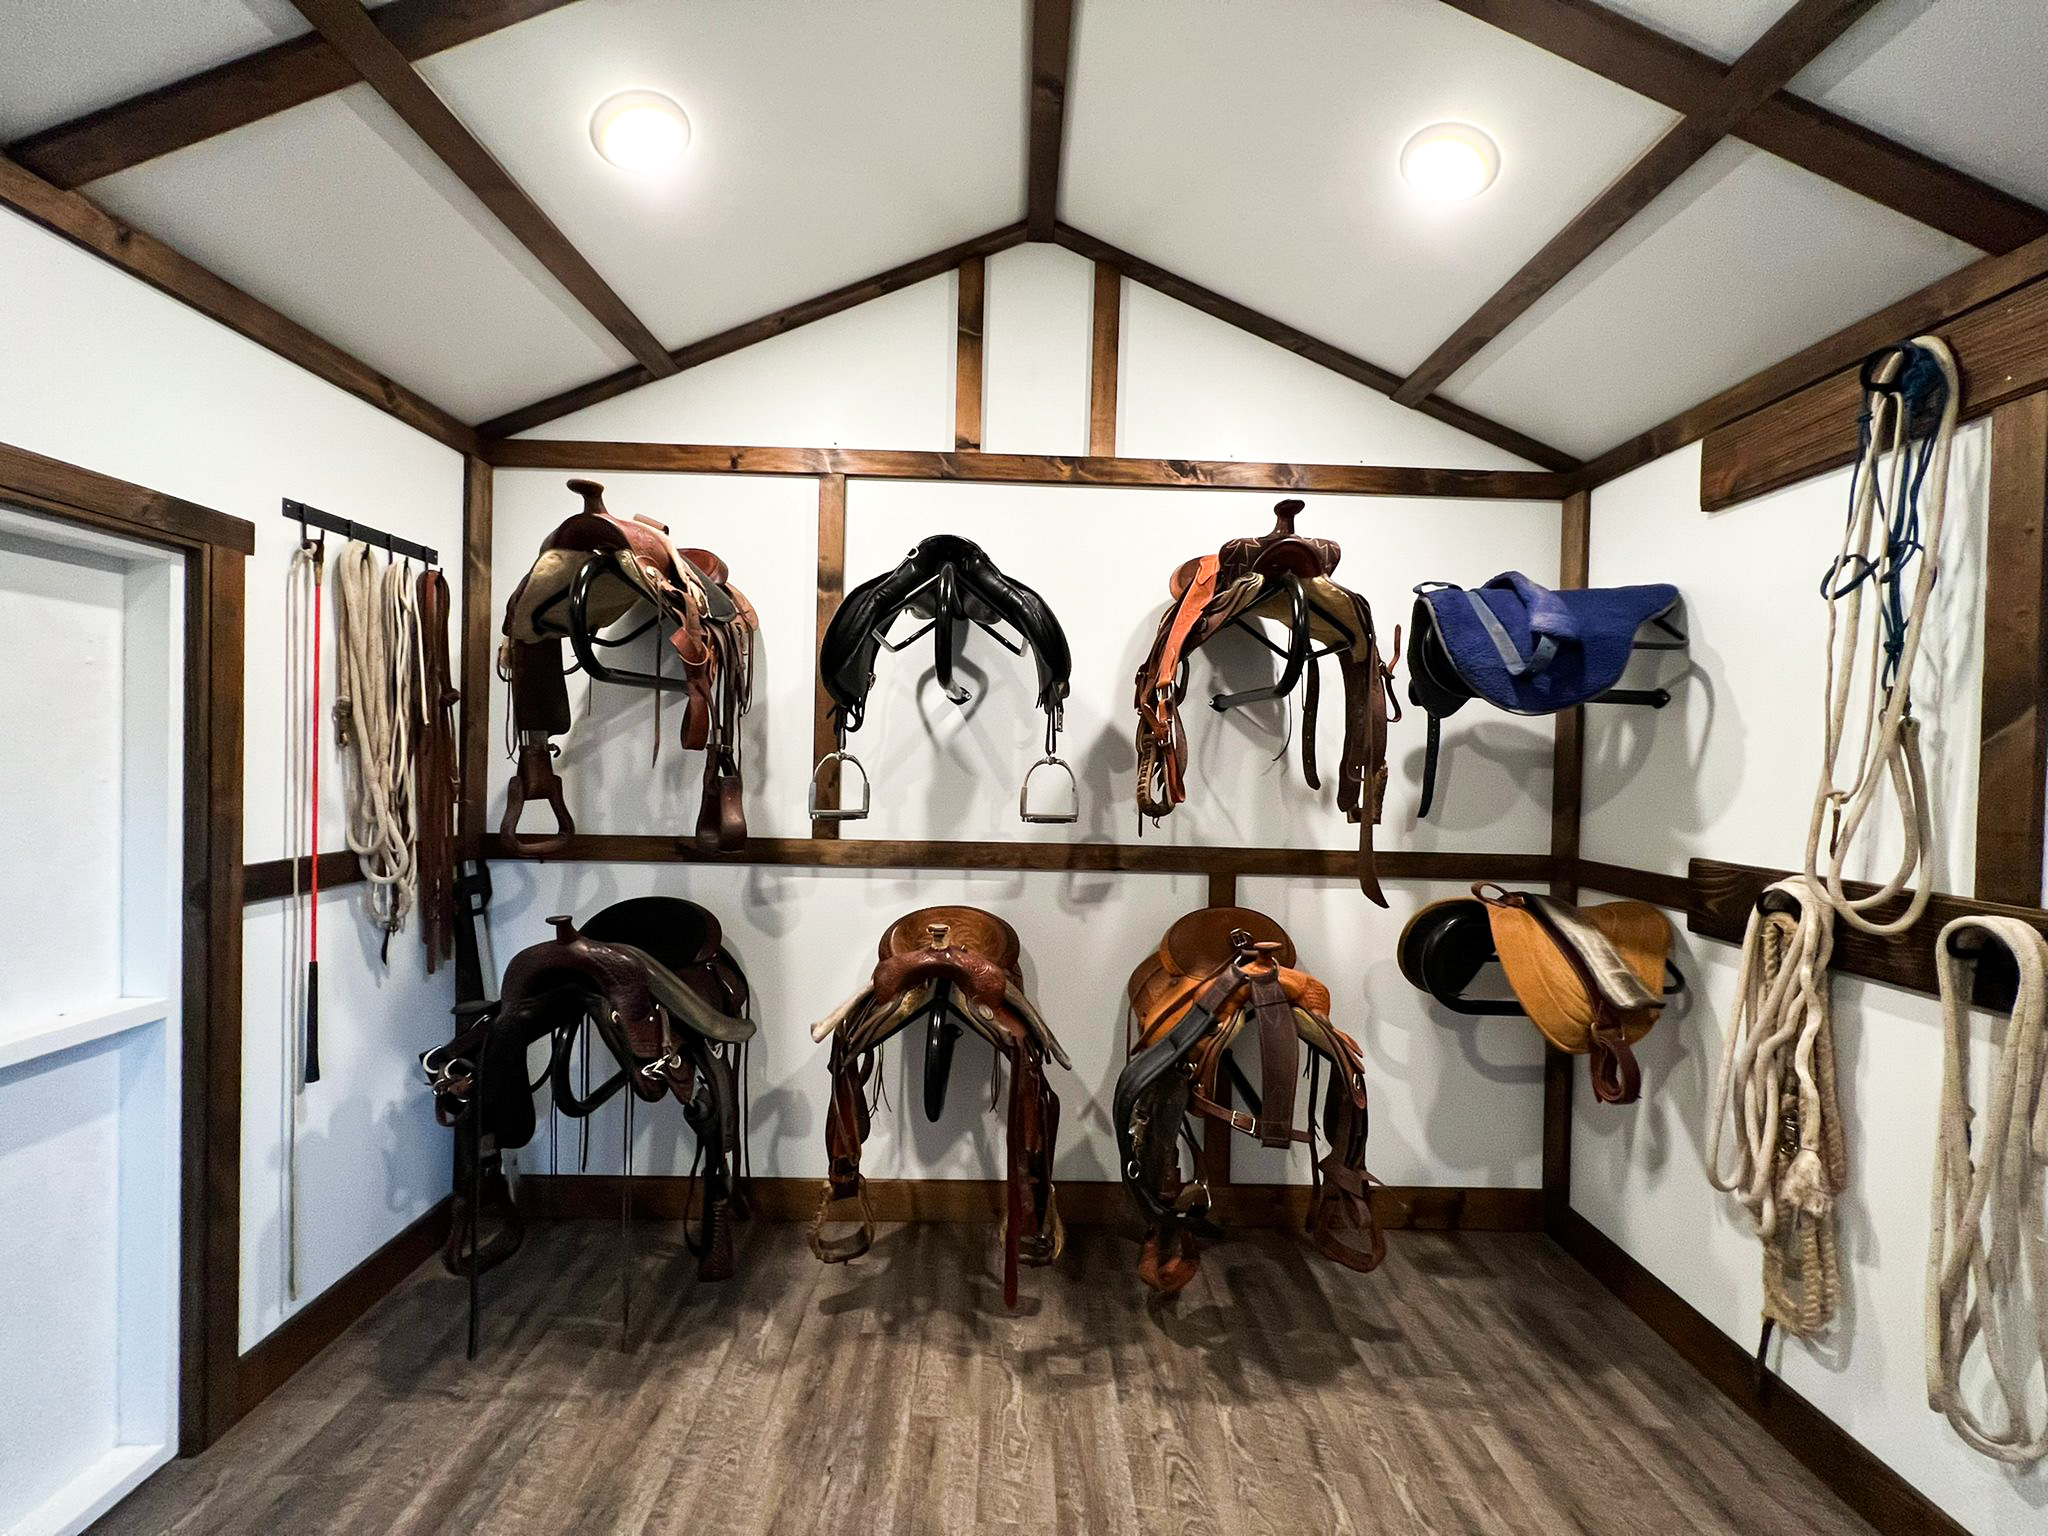
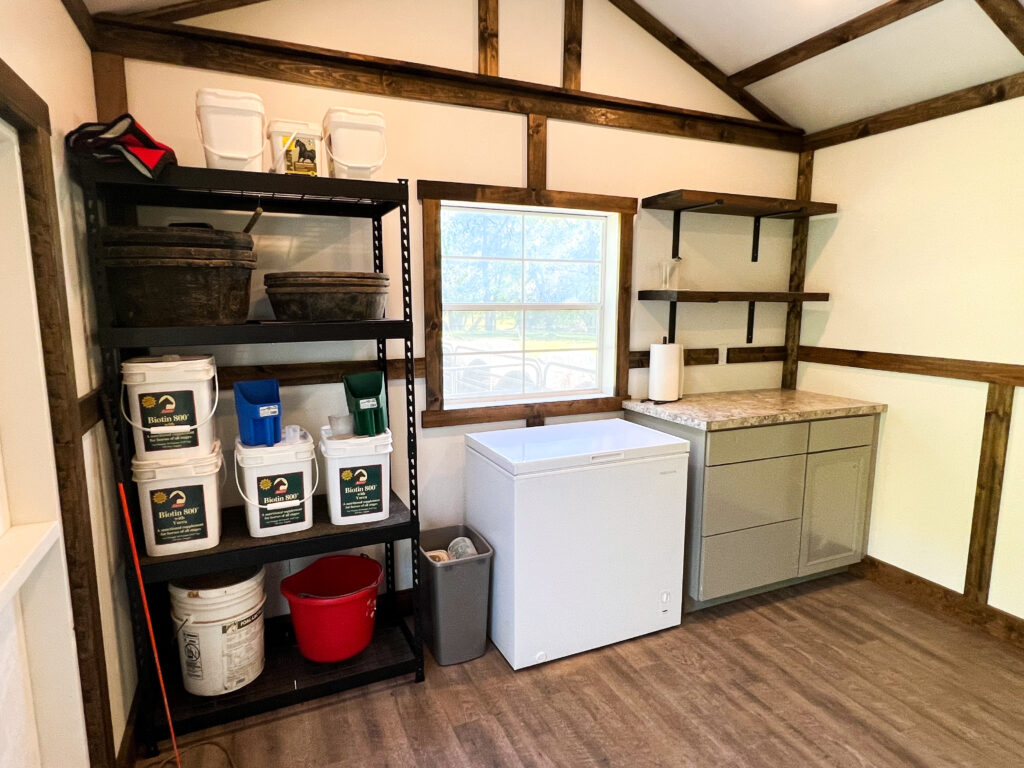
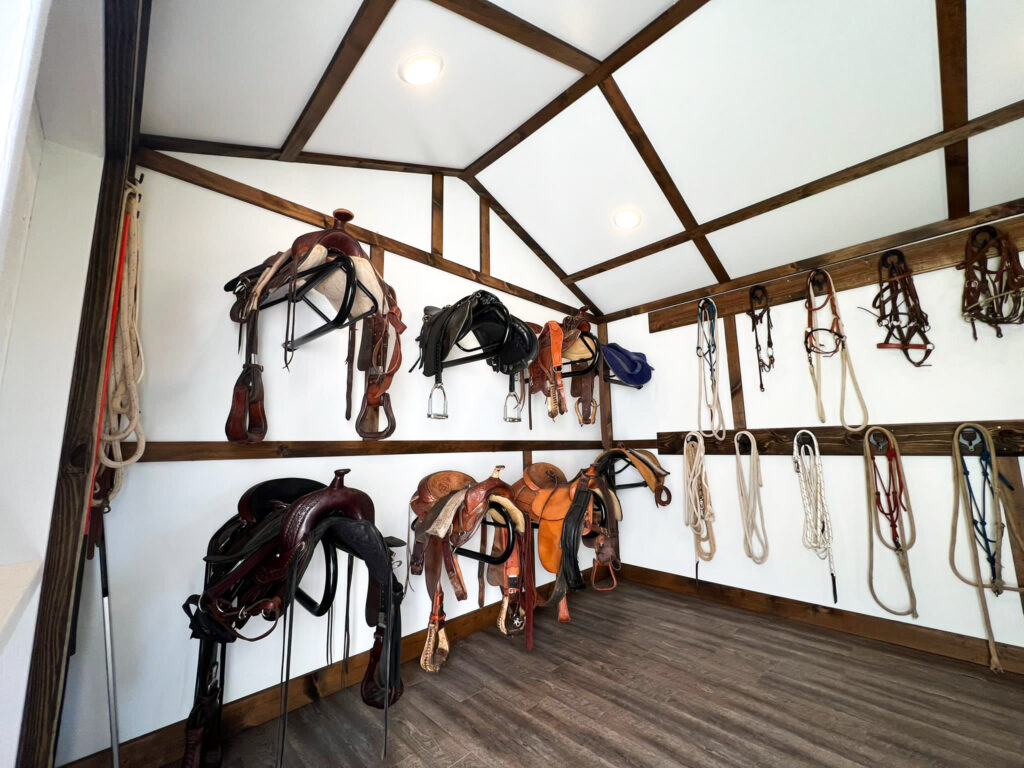
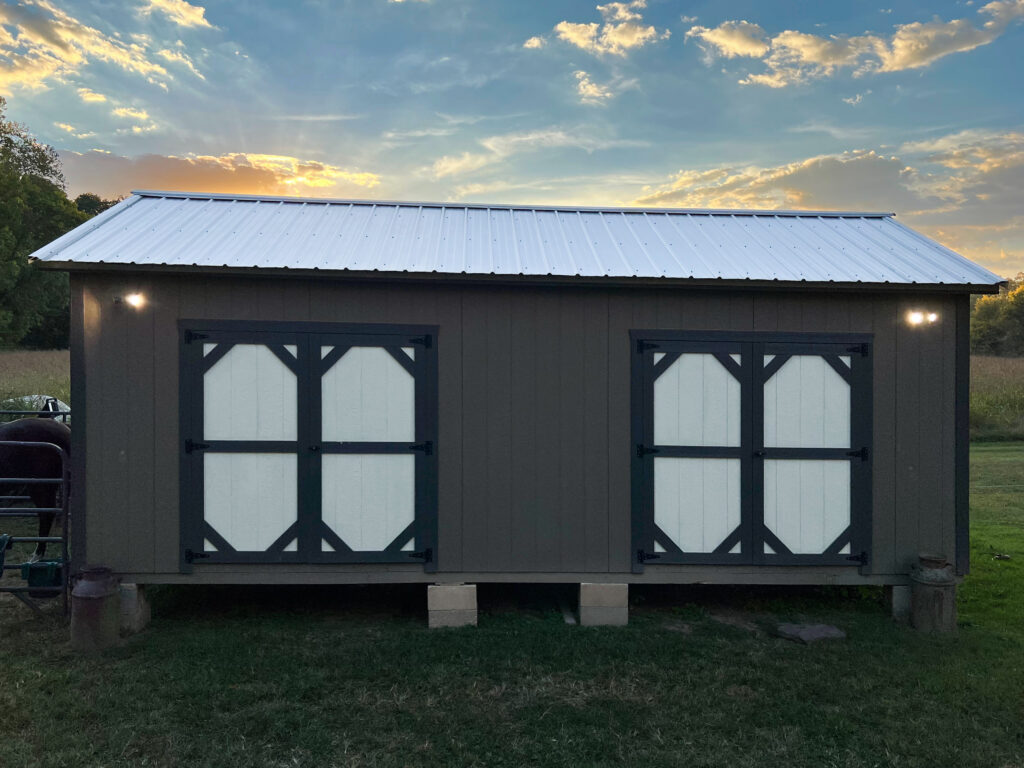
We originally got to meet Michael and Cynthia Edmonson when they used our shed moving services to move an outdoor building from another property to their new home. While Lonnie was there to move the shed, Cynthia started discussing with him the options for a custom shed build they were interested in ordering. We were privileged to earn their trust and ultimately they hired us to build them a custom 12×24 A-Frame Wood Shed that they would use for a tack room and a feed/fence room for their horses.
When we saw the work they did to finish out the shed interior, we knew we wanted to feature their shed in an article.
The Shed Details
The Edmonson’s wanted a highly customized shed build and, being a custom shed company, we were happy to help. “Lonnie’s willingness to be flexible and to work with us to customize a design was one of the main reasons we chose to purchase from Crestwood,” said Cynthia, when asked what made them choose to buy from us. “Another reason was that the pricing was competitive, similar to other company’s prices without the customizations,” Michael added.
The custom shed that they ordered was a wood 12×24 A-Frame. On the interior we framed in a center wall, splitting the shed into two 12×12 rooms. Two double doors on one of the 24 ft. walls provided a separate entrance for each room and a window on each gable end allow for each room to have natural light.
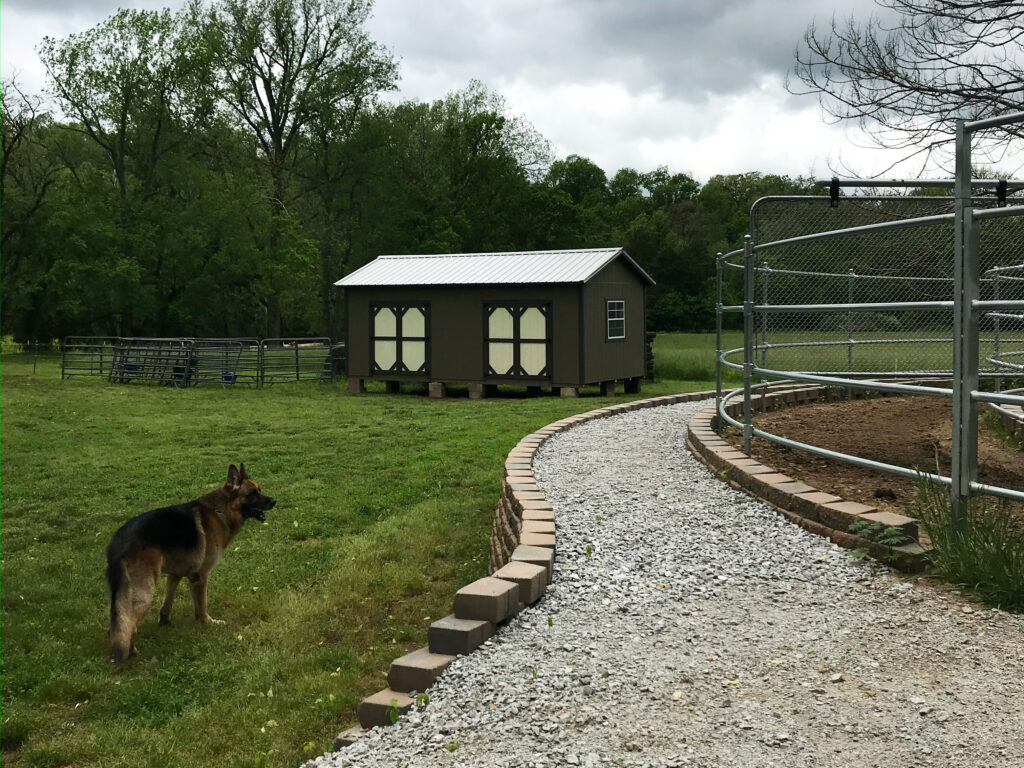
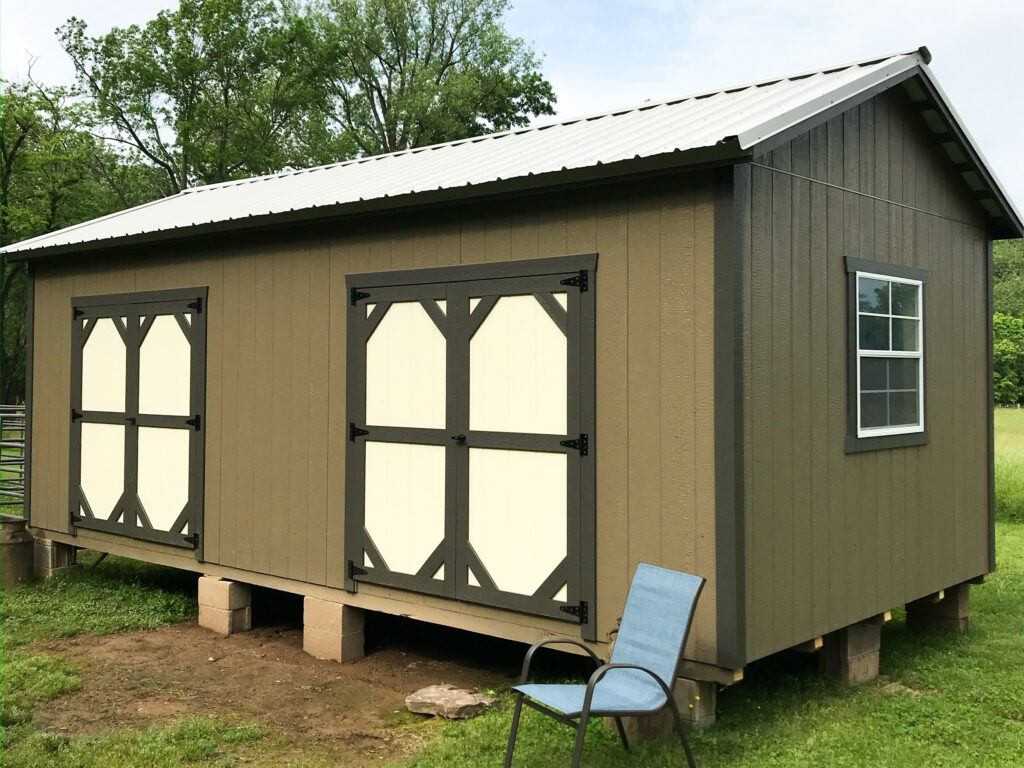
We worked with them to color match the shed’s paint and roof with their house so that aesthetically it would fit right in on their property.
After building the shed in our shop we delivered it to the Edmonson’s property just a few miles down the road from us. It was strategically placed right outside their horse training paddocks so it could serve as a tack room in one half and a feed and fence room in the other.
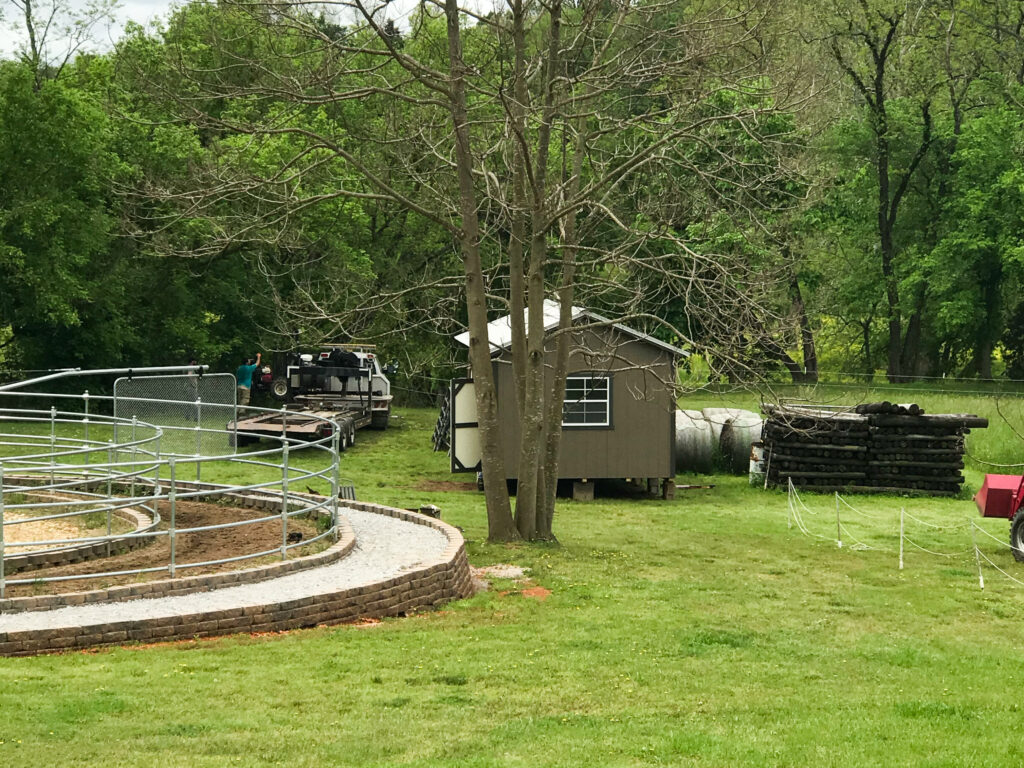
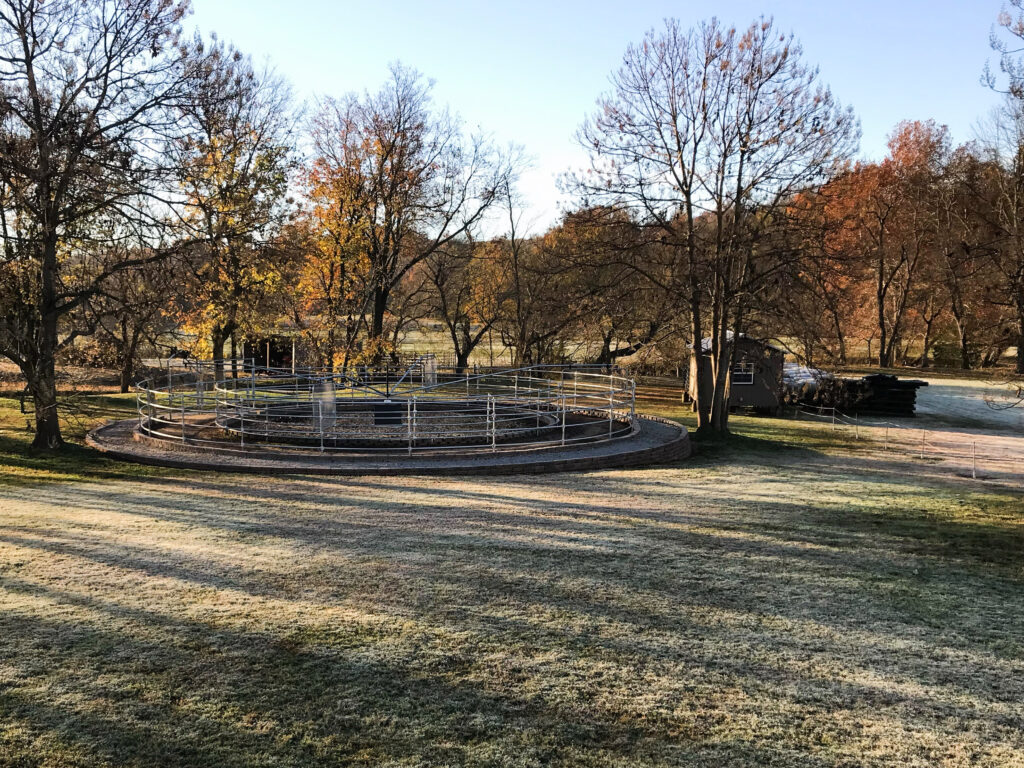
But the Edmonson’s were not interested in these rooms just looking like a normal shed interior; they had plans to really spiff it up by finishing out their shed interior. And they were well qualified to do this finishing work. Cynthia is a professional home designer and drafter and Michael is a craftsman that has installed kitchens for many years. So after the shed was delivered they got busy.
We asked Michael and Cynthia what their process was for finishing out the shed and what their shed finishing tips were. Here’s an overview of what they shared with us.
5 Steps to Finishing Out a Shed Interior
Design and Style Planning
As a professional designer and drafter, Cynthia said she highly recommends spending some good energy in planning and designing your shed before ever placing the order. Thinking through things like placement of doors, strategically positioning windows to provide light where you want it, and getting colors of roof and siding to match your other nearby buildings are the first steps in design planning. But it’s also important to make sure you take some time to map out your interior design and layout to ensure you order a building that will provide enough space for what you want to use it for.
After going through this process with their shed, Cynthia says she is happy to help other shed buyers plan for their shed project. Whether you are wanting to build a tiny home, a home office, a workshop shed, or some other hobby shed, she would be a great resource in helping you plan and design your building. With her business (creekhomedesign.com) she offers both design and planning courses and services to assist you in your project.
After you’ve finalized your ideal shed design, we would be more than happy to build your custom shed and deliver it to the spot you want it at. That’s when the fun really starts…and that is when Michael comes into the picture as a professional craftsman.
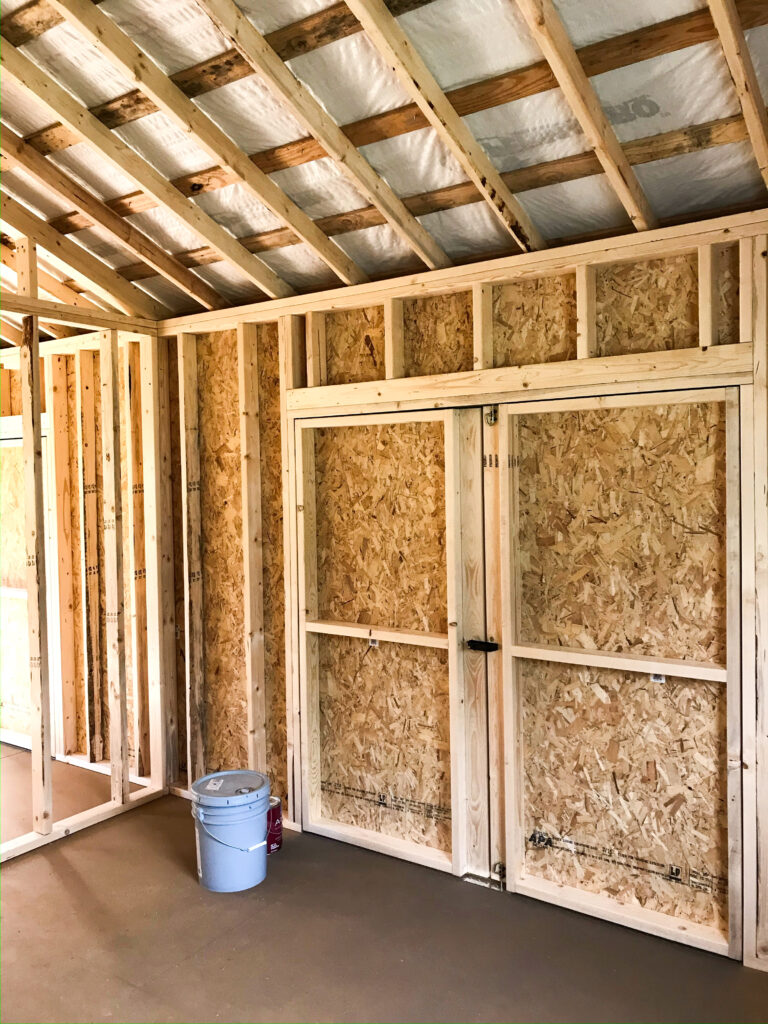
Running electrical
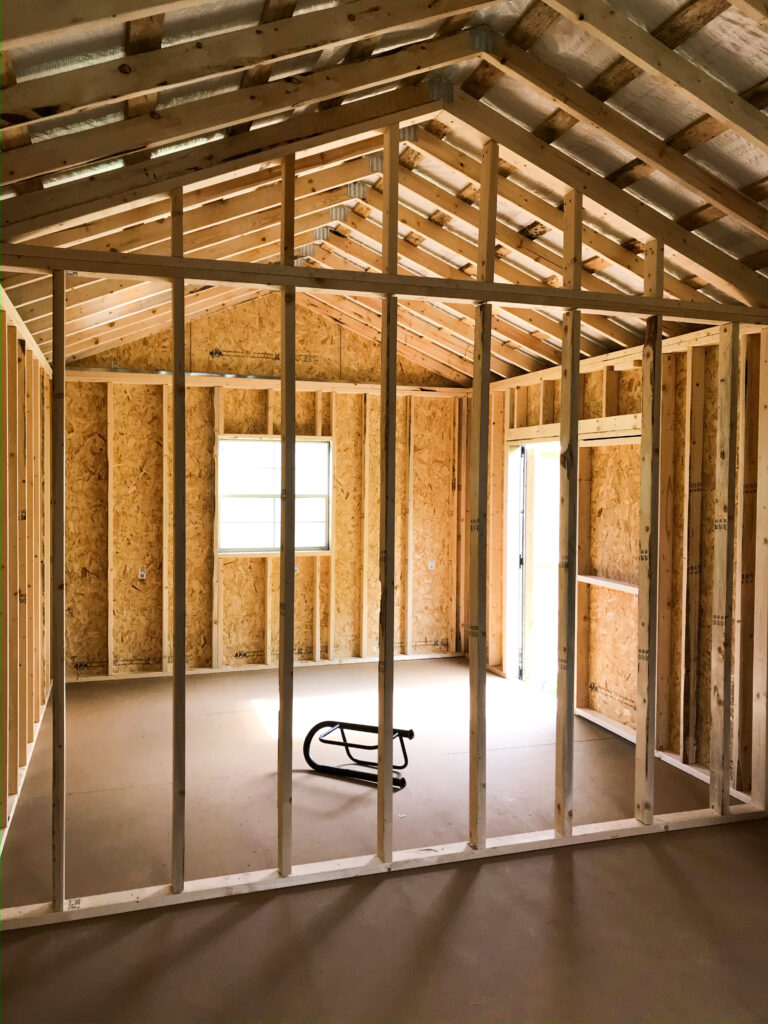
The first step to finishing out your shed after it is delivered is doing all the electrical work you will want for your shed. If you plan on having any plumbing or other utilities in the building, this would be the time to get that done as well. For the Edmonson’s the only utility they needed on this specific building was electrical so that they could have power for ceiling lights and power outlets.
Drywall
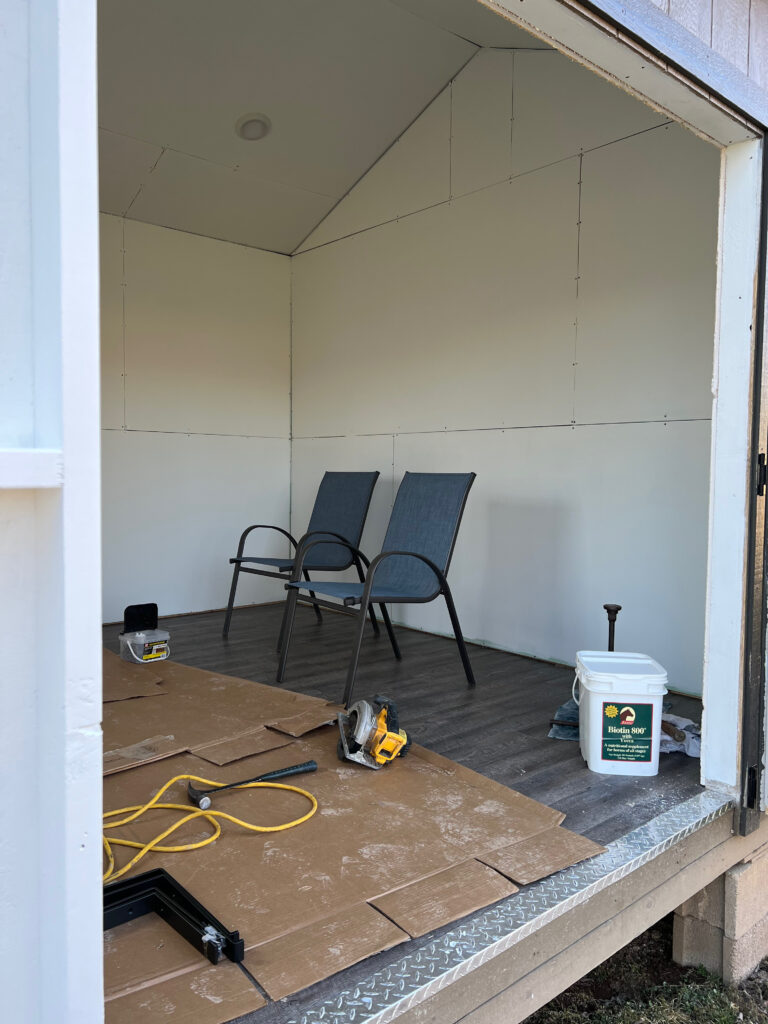
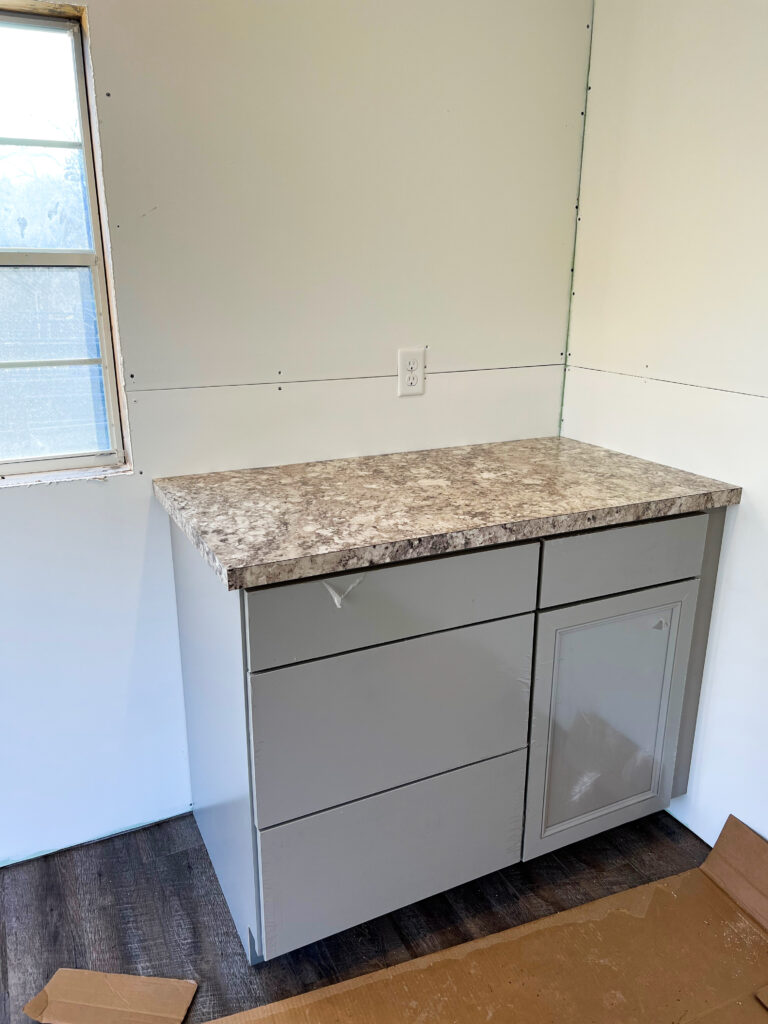
Once the electrical was run, Michael put up drywall on the walls and ceilings of the shed. If you are finishing out your shed, drywall is definitely a good option for the walls and ceilings. In this shed, they opted to trim out all the seams with wood rather than mudding and finishing the walls and it worked really well. You could also choose from other types of wall and ceiling covering, including wood paneling, ship lap siding, tongue-in-groove pine boards, or cedar boards depending on what best fits the interior aesthetic that you want.
Painting
Once the drywall was finished, Michael painted the walls and ceilings before doing any more finishing work. Doing the painting at this stage eliminates the extra work of having to cover up flooring and trim work or other fixtures later on.
Flooring
With the wall and ceilings painted, Michael got to work on the flooring. They choose to use the laminate wood flooring that snaps together. This makes for both a classy looking floor and one that is both practical and easy to install.
Trimming and Finishing
On the Edmonson’s shed, the trim work is what really impressed us. Michael used 1×4 pine boards, stained them and then installed them as trim throughout the shed both as a way to trim over the drywall seams and as a trim around the room. This provides a really nice contrast against the walls and really adds an element of class.
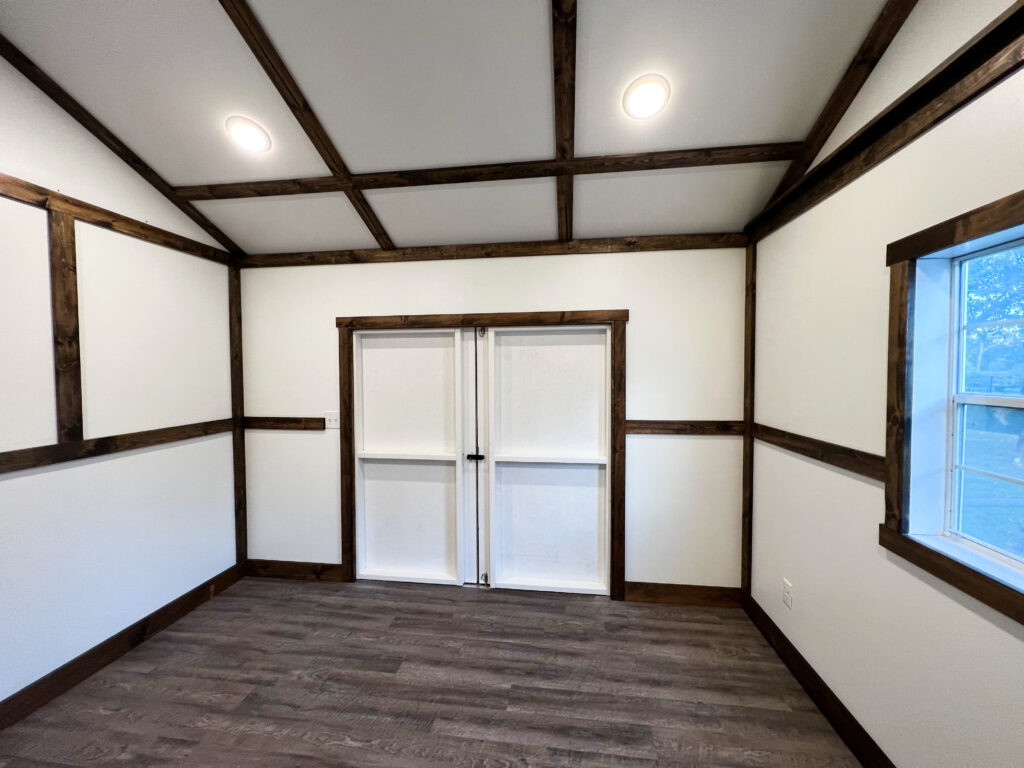
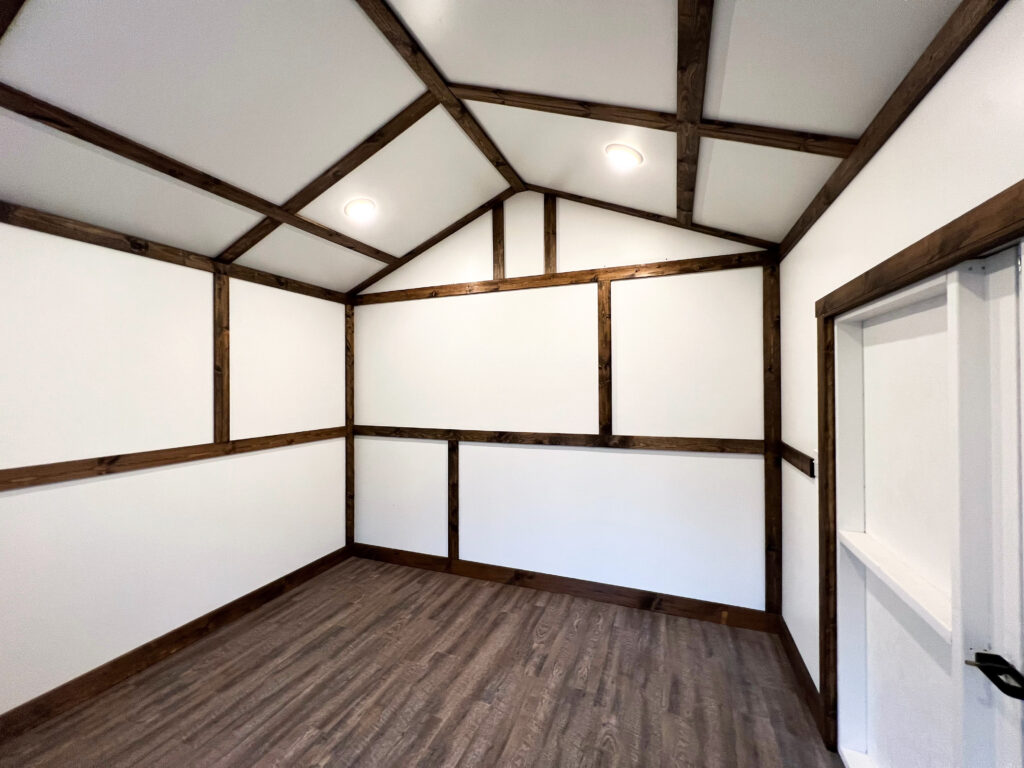
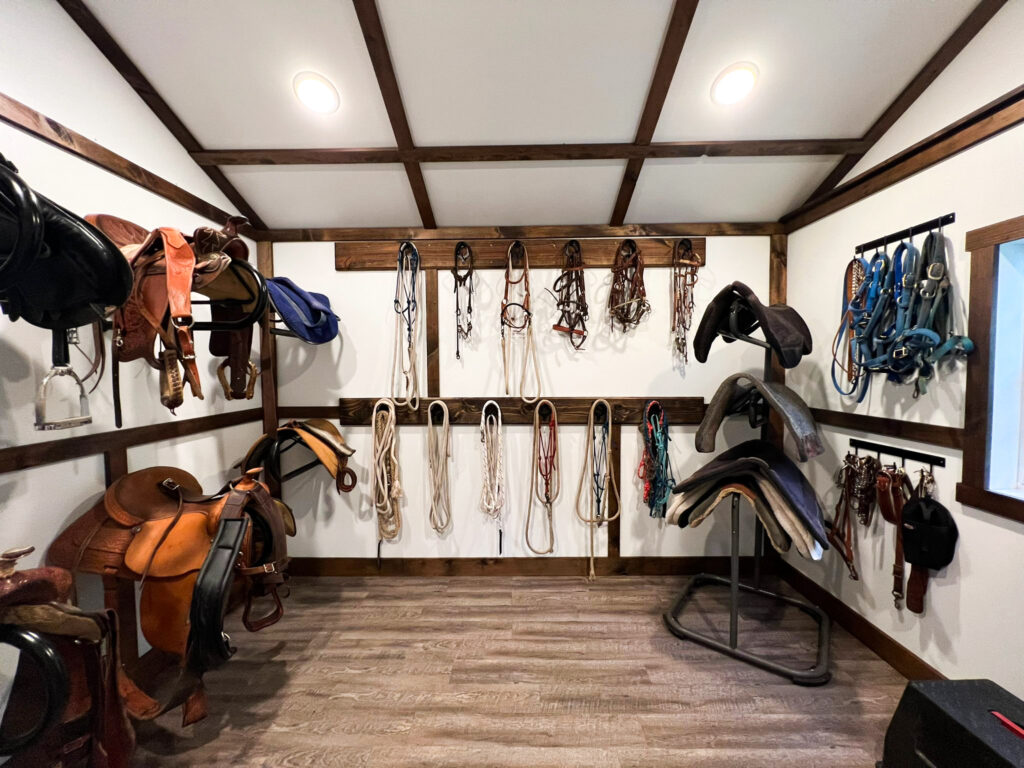
He also installed shelving, lots of saddle racks, some cabinets, wall hooks, etc…
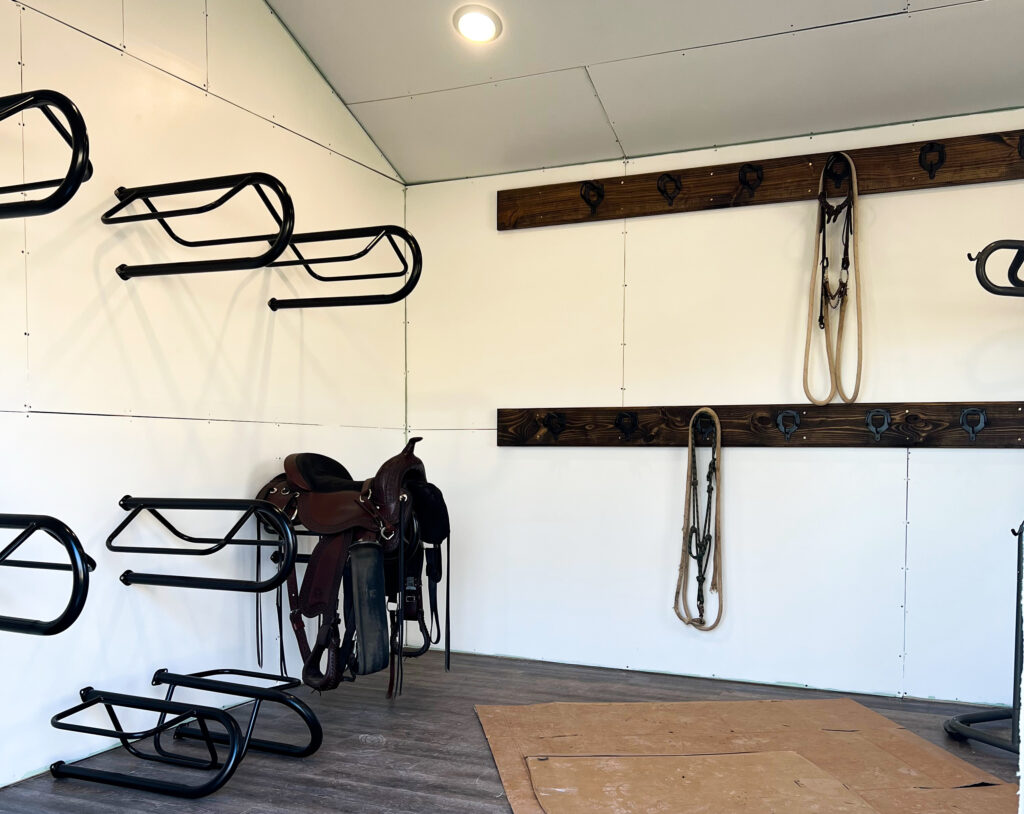
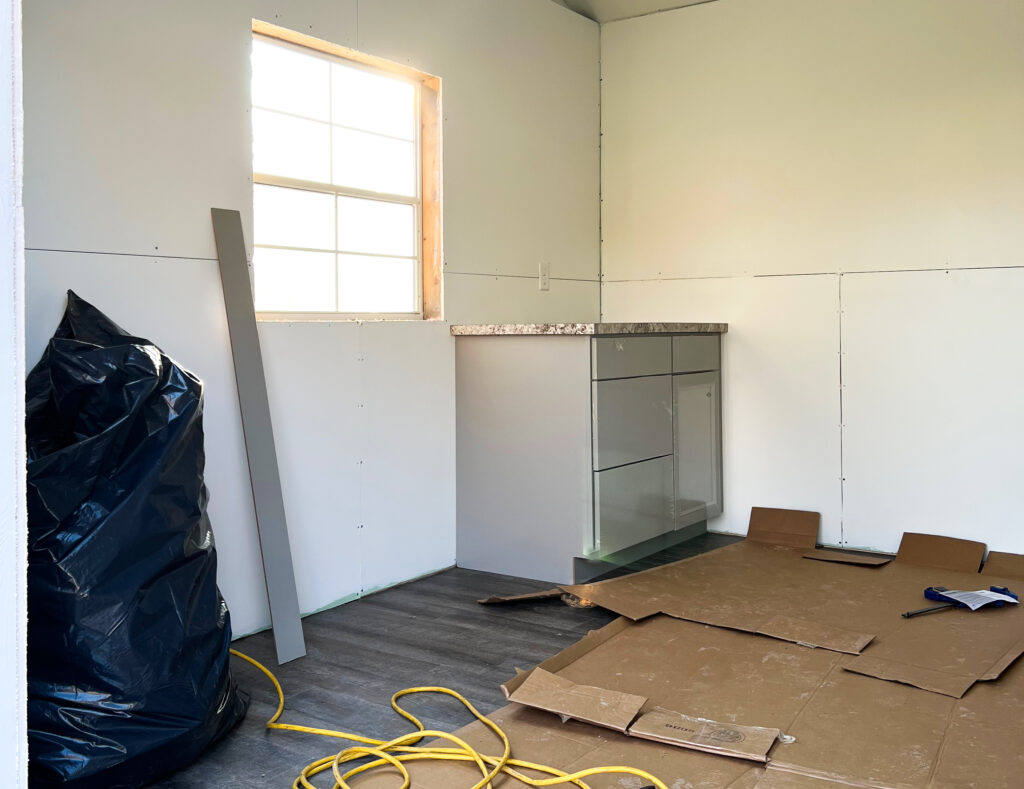
Once this was done, the shed was ready to be put to use.

What’s Next?
In the near future, they plan to finish their shed project by building a custom porch along the front of the shed that will be uniquely designed with hitching posts and inset steps to avoid horses tripping on them.
The Edmonson’s enjoyed the process of finishing out their shed enough that they are considering making a business out of it. As we already mentioned, Cynthia is setup to help with the planning and design aspect of the project and Michael says he would be happy to do the construction work for anyone that wants their shed finished. With years of experience and connections in the construction industry,he says he’s willing to do most any type of shed finishing project, whether it be for tiny homes, home offices, hobby sheds, etc…He also has the necessary connections with electricians, plumbers, or any other subcontractors that may be needed to finish out your shed project.
Michael and Cynthia say that they would 100% recommend our shed company to anyone needing a custom shed. From what we’ve seen, we can definitely return the favor and 100% recommend them for anyone needing to finish out their shed. Below is their contact info for anyone wanting to get in touch with them.
Cynthia Edmonson (Creek Home Design)
Website: creekhomedesign.com
Email: [email protected]
Phone: 479-200-2795
Michael Edmonson (Elite Installs LLC)
Email: [email protected]
Phone: 479-790-7414
